How to Sharpen a Morakniv Knife Safely and Effectively
Sharpen your Morakniv knife is more than just a routine—it’s a must for anyone who values safety and precision. A dull blade doesn’t just make tasks harder; it’s more dangerous, increasing the risk of slips and accidents. Keeping your Morakniv knife sharp maintains its legendary cutting ability and extends its lifespan, ensuring you can rely on it for years.
With its Scandinavian grind and high-quality steel, the Morakniv knife is built for performance, but even the best blades need proper care. Whether slicing through food, prepping for an outdoor adventure, or tackling a DIY project, a sharp edge makes every cut effortless and efficient.
In this guide, we’ll explore why sharpening matters, what tools you need, and how to get it right—all in simple, easy steps. Ready to keep your trusted Morakniv razor-sharp? Let’s begin!

Why Keeping a Morakniv Knife Sharp is Important
Keeping your Morakniv knife sharp isn’t just about convenience, safety, efficiency, and durability. A sharp blade does the job faster and with less effort, whether you’re cutting vegetables, crafting, or tackling outdoor tasks. But why does sharpness matter so much? Let’s break it down.
Efficiency at Its Best
A dull knife slows you down. You struggle instead of smooth, clean cuts, which can ruin your work. A sharp Morakniv knife slices through materials with precision. It saves time and makes every task feel effortless.
Safety First
Did you know a dull knife is more dangerous than a sharp one? When a blade is boring, you have to push harder. This increases the risk of the knife slipping and causing injuries. On the other hand, a sharp knife glides through materials easily, reducing the chances of accidents.
Durability and Maintenance
Morakniv knives are made from high-quality steel and are known for their edge retention. However, regular sharpening ensures the blade stays in top condition, preventing excessive wear and tear and allowing the knife to last longer.
A Trusted Tool
A sharp knife is always reliable whether you use it for cooking, camping, or crafting. Keeping your Morakniv sharp ensures it performs like the day you got it.
Remember, sharpening isn’t just maintenance; it’s a way to honour your trusted tool. Keep it sharp, and it will never let you down!
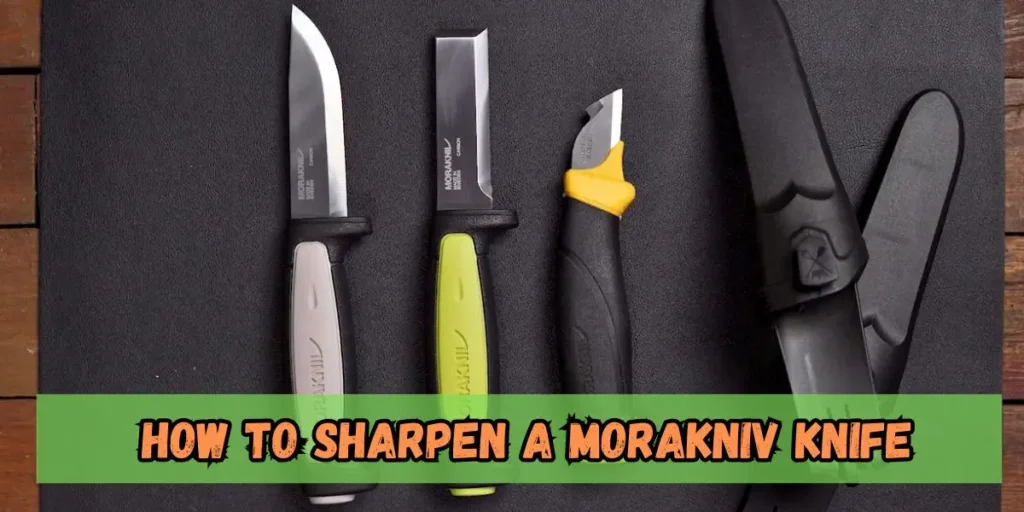
Tools You Need to Sharpen a Morakniv Knife
Having the right tools makes sharpening your Morakniv knife simple and effective. You risk damaging the blade or getting poor results without the proper equipment. Let’s examine the tools you’ll need and how they help.
Whetstone
A whetstone is a must-have for sharpening knives. It’s perfect for restoring the edge of your Morakniv knife. Look for a stone with dual grits—one for coarse sharpening and the other for fine polishing. Always use water or oil to reduce friction and protect the blade.
Diamond Sharpener
Another excellent option is a diamond sharpener. It’s durable and works well on Morakniv’s high-quality steel. Its rough surface quickly removes dull edges, speeding up sharpening.
Honing Rod
A honing rod straightens the edge rather than sharpening it. Regular use keeps the blade aligned and ready for action, making it ideal for daily maintenance between sharpening sessions.
Leather Strop
A leather strop is used after sharpening to polish the blade. It removes tiny burrs and leaves the edge razor-sharp. It’s a finishing touch that makes all the difference.
How to Sharpen a Morakniv Knife: Step-by-Step
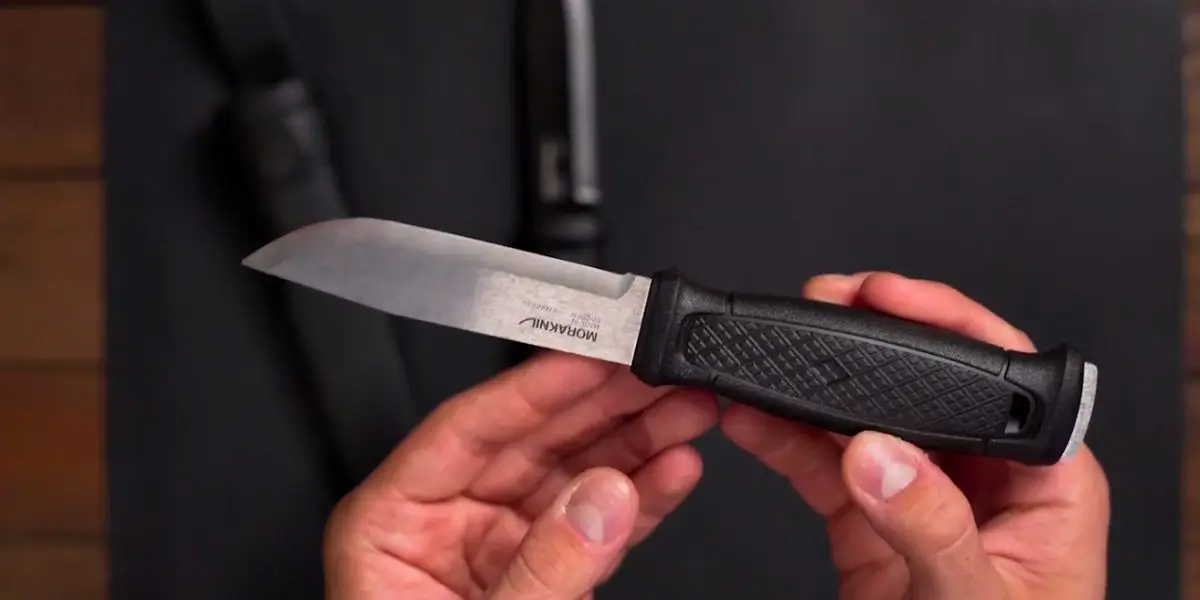
A man prepares to sharpen a Morakniv knife.
Sharpening your Morakniv knife doesn’t have to be complicated. You can quickly achieve a razor-sharp blade with the proper steps and tools. Here are some easy-to-follow steps.
Step 1: Prepare Your Tools and Workspace
Gather everything you need: a whetstone, honing rod, leather strop, and a stable surface. Make sure your workspace is well-lit and clutter-free. For safety, consider wearing gloves and keeping the knife steady during sharpening.
Related to: How to Use the Rada Knife Sharpener: Expert Tips
Step 2: Clean the Knife
Before sharpening, clean your Morakniv knife with warm water and mild soap. This removes dirt, grease, or debris that could affect the sharpening process. Dry it thoroughly to avoid rust.
Step 3: Sharpen the Blade
Using a Whetstone:
- Wet the stone with water or oil to reduce friction.
- Hold the knife at a 22.5° angle (ideal for the Scandinavian grind).
- Move the blade across the stone smoothly, keeping the angle steady.
- Flip the knife and repeat on the other side.
- Use the coarse side for dull blades and the fine side for polishing.
Using a Diamond Sharpener:
- Glide the blade gently against the sharpener, following the same angle.
- Repeat until the edge is sharp.
Step 4: Hone and Polish
After sharpening, use a honing rod to straighten the blade’s edge. Hold the rod upright and swipe the knife at the same sharpening angle. Finish with a leather strop to polish the edge, removing any tiny burrs left behind.
Step 5: Test the Sharpness
Test your knife by slicing a piece of paper or cutting through a tomato. If the blade cuts smoothly, you’ve done it right!
Mistakes to Avoid When Sharpening a Morakniv Knife
Sharpening a knife seems straightforward, but even small mistakes can harm your blade or reduce its performance. Avoiding these common errors ensures your Morakniv knife stays sharp and reliable.
Incorrect Blade Angle
One of the most common mistakes is sharpening at the wrong angle. The Morakniv knife uses a Scandinavian grind, which works best at a 22.5° angle. Sharpening at a different angle can damage the edge and make it less effective. Always maintain a consistent angle while sharpening.
Using the Wrong Tools
Not all sharpening tools are suitable for every knife. A poor-quality sharpener or the wrong type of stone can harm the blade. Use trusted tools like a whetstone, diamond sharpener, or leather strop for the best results.
Over-Sharpening or Under-Sharpening
Sharpening too much can wear out the blade faster while under-sharpening leaves the knife dull. Pay attention to the edge while sharpening. A few consistent strokes are often enough to restore sharpness without overdoing it.
Skipping Honing and Polishing
Sharpening alone isn’t enough. If you skip honing or polishing, your knife might feel rough or uneven. These steps refine the blade and give it that smooth, razor-sharp finish.
Rushing the Process
Sharpening takes patience. Rushing can lead to uneven edges or accidents. Take your time to ensure each step is done correctly.
How to Avoid These Mistakes
- Learn the correct sharpening techniques.
- Use the right tools for your Morakniv knife.
- Practice maintaining a steady angle and pace.
By avoiding these mistakes, you’ll keep your Morakniv knife in excellent condition and ready for any task. Sharpening is an art—master it with care!
Related to: How to Use Chef’s Choice Knife Sharpener 2-Stage: Expert Tips
How Often Should You Sharpen Your Morakniv Knife?
Knowing when to sharpen your Morakniv knife is as essential as learning how to do it. A sharp knife works better and lasts longer with proper care. So, how often should you sharpen your blade? Let’s break it down.
Frequency Depends on Use
If you use your knife daily, such as for cooking or outdoor tasks, you must sharpen it more often. On average, sharpening every 2–3 months should be enough for regular use. For occasional use, sharpening every 6 months works well.
Signs Your Knife Needs Sharpening
It’s not always about the calendar. Watch for these signs that your knife needs attention:
- Dull Blade: The knife doesn’t cut as smoothly as before.
- Increased Effort: You need to apply more pressure to cut.
- Uneven Cuts: The blade tears instead of slicing cleanly.
- Fails Sharpness Tests: Struggles with the paper or tomato test.
If you notice these issues, it’s time to sharpen your Morakniv knife.
Regular Maintenance Tips
Hone your knife regularly with a honing rod to keep it sharper for longer. Honing helps maintain the edge between sharpening sessions. Also, store your knife correctly in a sheath or knife block to avoid damage.
Conclusion
Sharpening your Morakniv knife is not just a task—it’s an investment in safety, efficiency, and durability. A sharp blade makes every cut smooth and effortless, whether preparing a meal, carving wood, or enjoying the outdoors. Keeping your knife sharp becomes an easy and rewarding habit with the right tools and techniques.
Remember, a sharp Morakniv knife is safer than a dull one. Regular maintenance preserves its edge and extends its lifespan. Simple steps like cleaning the blade, honing it regularly, and sharpening it with a whetstone can make a big difference.
Now that you know how to sharpen your Morakniv knife, it’s time to implement this knowledge. Keep your trusted tool in top shape and ready for any challenge. A well-maintained knife is a reliable companion, whether in the kitchen or the great outdoors.
Happy sharpening!
Frequently Asked Questions
You can use an electric sharpener, but it’s not the best option. Morakniv knives are designed with a Scandinavian grind requiring precise sharpening angles. Electric sharpeners may not maintain this angle correctly and could damage the blade. For better results, stick to manual tools like a whetstone.
Absolutely! Sharpening a knife is safe if you follow proper techniques. Always work on a stable surface, use the right tools, and maintain control over the blade. Wearing gloves can provide extra safety, especially if you’re a beginner.
Proper storage is key to maintaining sharpness. To protect the blade from damage, use a knife sheath, magnetic strip, or block. Avoid tossing your knife into a drawer, as this can dull the edge.
Simple tests work wonders! Try slicing a piece of paper or cutting through a tomato. If the blade glides smoothly, your knife is sharp.
It depends on the blade’s condition and your experience. Sharpening a slightly dull knife takes 10–15 minutes, but severely dull knives may take longer.
Related Posts
-
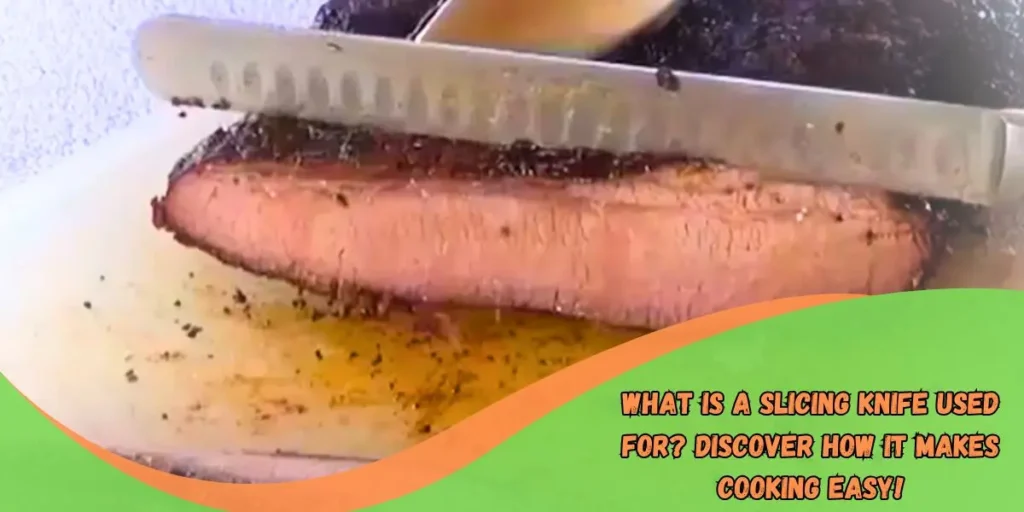 23 Feb 2025 KnifeWhat Is a Slicing Knife Used For? Discover How It Makes Cooking Easy!
 -
 16 Feb 2025 KnifeWhat knives does Gordon Ramsay use? Check out his premium knives
 -
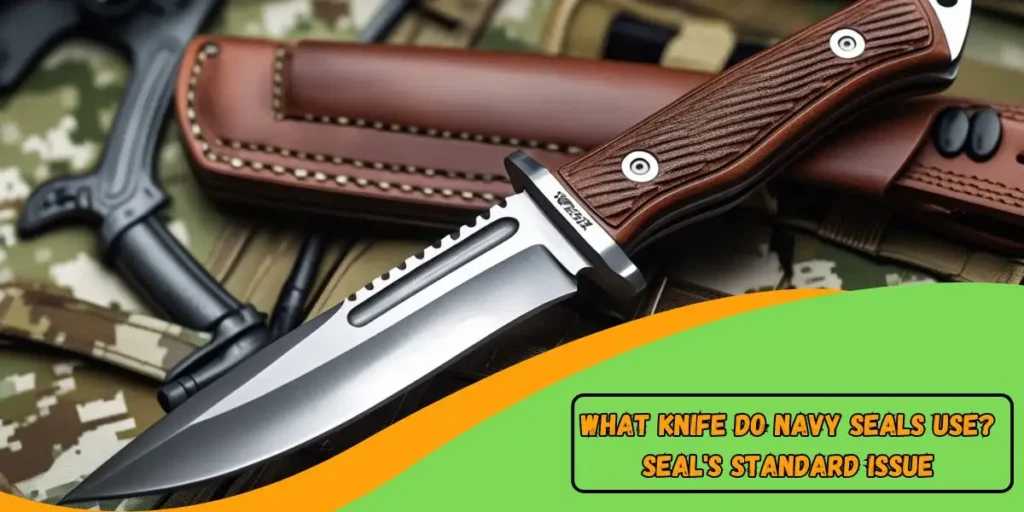 15 Feb 2025 KnifeWhat Knife Do Navy Seals Use? SEAL's Standard Issue 2025
 -
 08 Feb 2025 KnifeWhat Knife Does John Wick Use? Learn About His Deadly Blade
 -
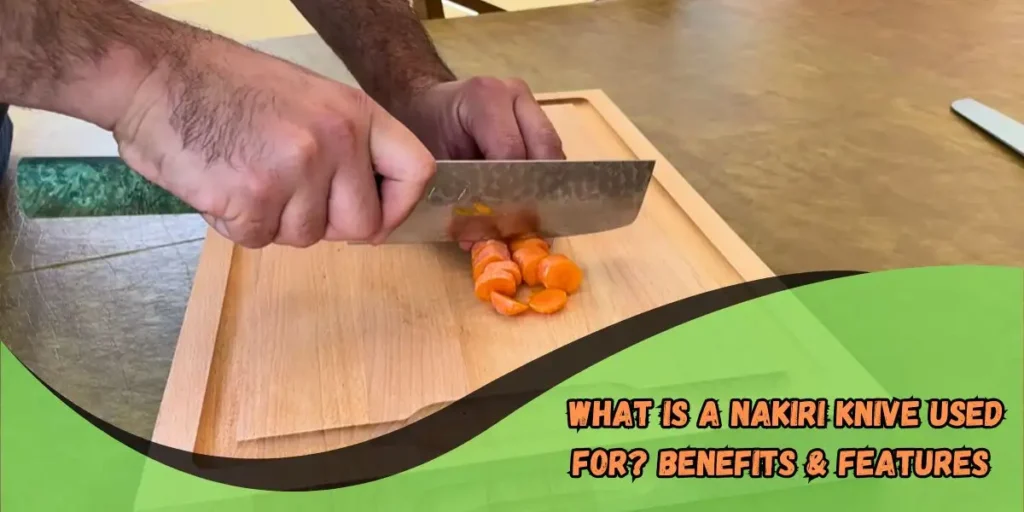 30 Jan 2025 KnifeWhat is a Nakiri Knives Used For? Benefits & Features Explained
 -
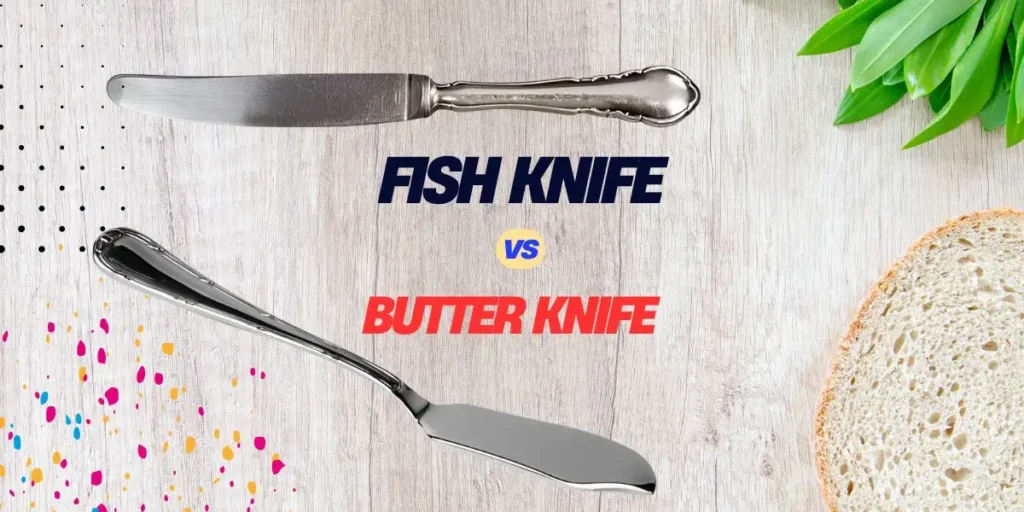 12 Jan 2025 KnifeFish Knife vs Butter Knife: Key Differences and Uses Explained
 -
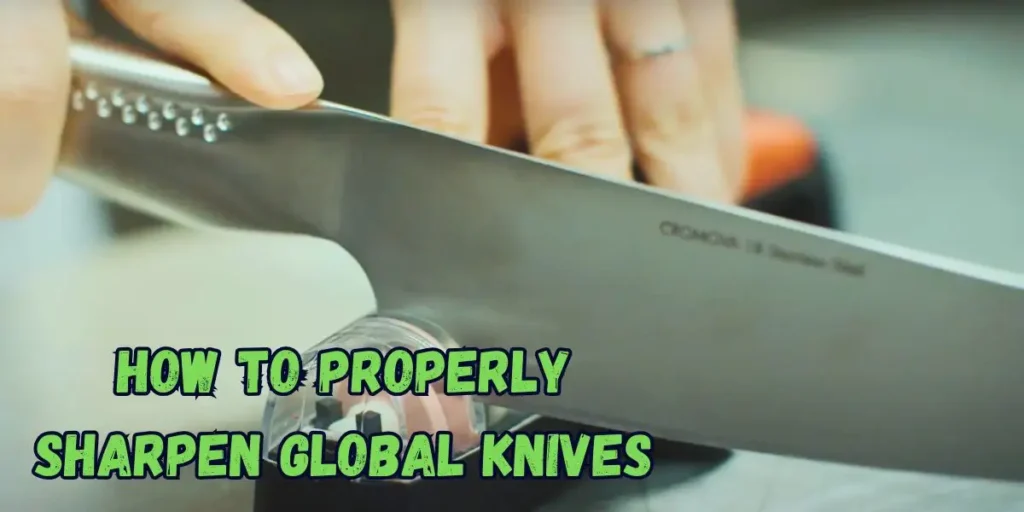 11 Jan 2025 KnifeHow to Sharpen Global Knife: A Quick Guide 2025
 -
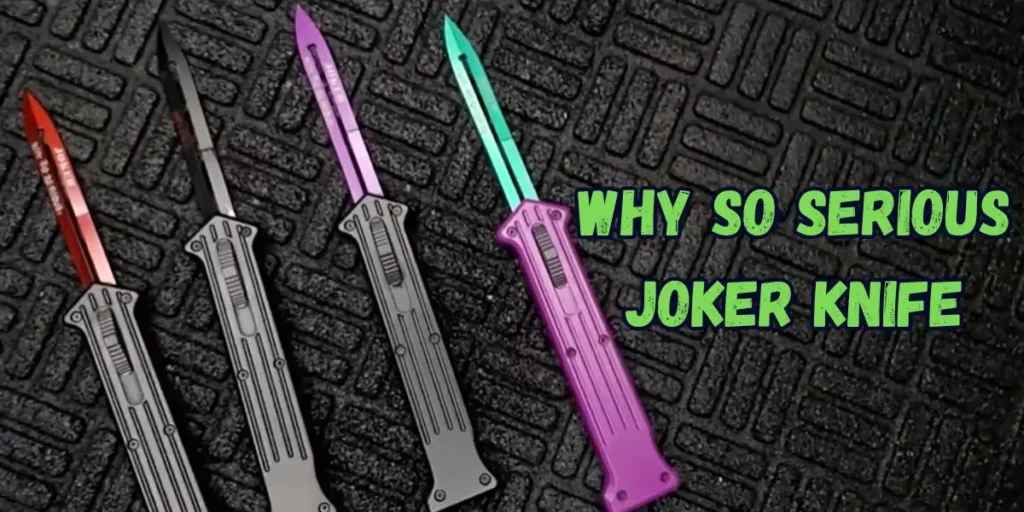 10 Jan 2025 KnifeDecoding the Iconic Why So Serious Joker Knife
 -
 09 Jan 2025 KnifeThe Right Way to Use a Steak Knife: Tips and Tricks
 -
 08 Jan 2025 KnifeHow to Sharpen a Morakniv Knife Safely and Effectively