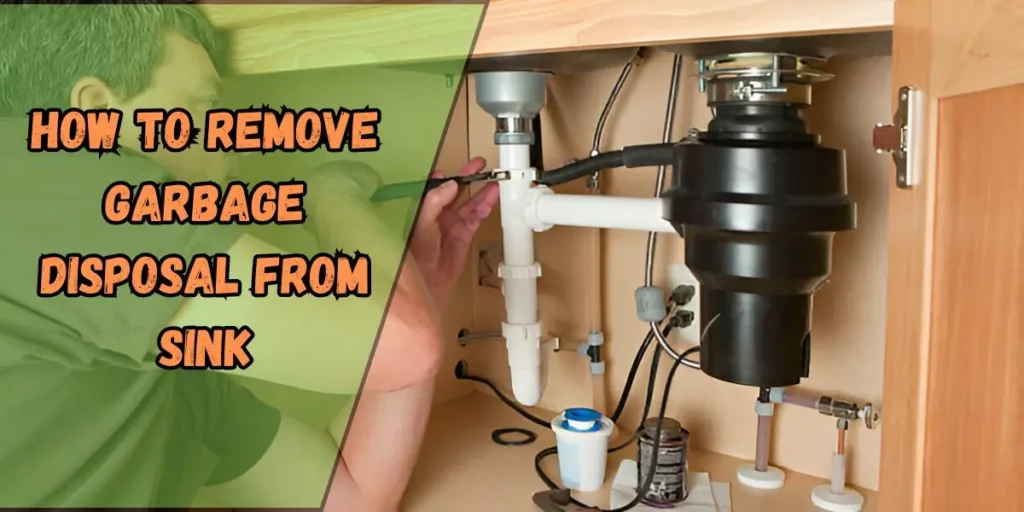
Learn How to Remove Garbage Disposal From Sink 2025
Removing a garbage disposal can seem daunting, but it’s often necessary for maintenance, upgrades, or replacement. Whether your disposal has stopped working, or you’re simply updating your kitchen, knowing how to remove a garbage disposal safely and efficiently is essential.
This step-by-step guide will walk you through everything you need to know, from gathering the right tools to troubleshooting common issues that might arise. With the proper precautions, such as turning off power and shutting off water, you can confidently handle this job.
Understanding the importance of correct removal methods not only prevents damage to your plumbing and electrical systems but also sets the stage for a successful disposal reinstallation or replacement. Let’s get started with the basics and take the first step towards tackling this essential kitchen task!
Tools and Materials You’ll Need
Before you begin removing the garbage disposal, it’s important to gather the right tools and materials. Having everything on hand will make the process smoother and quicker. Here’s a list of what you’ll need:
Essential Tools:
- Adjustable Wrench
An adjustable wrench is crucial for loosening and tightening bolts or pipes. It will help you easily work with different sizes of fasteners. - Plumber’s Putty
You’ll need plumber’s putty to create a seal when reinstalling the disposal or fixing any leaks around the flange. - Screwdrivers (Flathead and Phillips)
Both flathead and Phillips screwdrivers are necessary for unscrewing bolts and screws. Make sure you have both types to handle different fasteners. - Bucket or Towels
Water can spill when disconnecting the drain lines. Having a bucket or some towels nearby will help you clean up quickly and avoid a mess. - Pliers
Pliers are useful for gripping and pulling apart pipes or other tight connections that need extra force. - Flashlight
Sometimes, it’s hard to see all the connections under the sink. A flashlight will help you spot where to unscrew or detach parts.
Why These Tools Matter:
Each of these tools has a specific purpose to make the removal easier. They help ensure that the process goes smoothly and safely. Having the right tools not only saves time but also reduces the risk of damaging your plumbing or garbage disposal. Be sure to check that everything is in good condition before you start!
Safety First – How to Prepare for the Job
Before you start removing your garbage disposal, safety is the top priority. There are a few important steps to take before you get to work. Let’s go through them one by one.
Turn Off the Power
The first thing you need to do is disconnect the power. If your disposal is plugged into a socket, unplug it. If it’s hardwired, go to your circuit breaker and turn off the power to that area. This will prevent any electrical accidents while you’re working.
Shut Off the Water Supply
Next, turn off the water supply to your sink. Locate the water valves under your sink and turn them off to stop water from flowing. This will help avoid leaks or spills while you’re disconnecting pipes.
Protect Your Hands
Garbage disposals have sharp edges, and you’ll likely be working with metal pipes. It’s a good idea to wear a pair of heavy-duty gloves to protect your hands. Gloves will shield you from cuts, debris, and any sharp parts you might touch.
Double-Check Everything
Take a moment to double-check that the power is off, and the water supply is shut. Safety is key, so don’t rush through these steps. Once everything is prepared, you’re ready to proceed with the removal!
Step-by-Step Instructions on How to Remove the Garbage Disposal
Now that you’re prepared and have gathered the necessary tools, it’s time to dive into the step-by-step process of removing your garbage disposal. This may seem like a big task, but don’t worry! With clear instructions and patience, you’ll get it done in no time.
Step 1: Disconnect the Drain Lines
Start by disconnecting the drain lines. You’ll need to remove the drain hose and sink flange. The drain hose is usually attached to the side of the disposal. Loosen the clamp holding it with a screwdriver or pliers and slide it off. Next, unscrew the sink flange, which is the metal piece holding the disposal to the sink. You may need to use an adjustable wrench to do this. Be prepared for some water to spill, so have a bucket or towels handy!
Step 2: Detach the Garbage Disposal from the Mounting Bracket
Once the drain lines are off, it’s time to detach the disposal from the mounting bracket. The bracket is the metal ring or mount that holds the disposal in place under the sink. You’ll need to locate the screws or bolts securing it. Use your screwdriver or adjustable wrench to loosen and remove these fasteners. Once the screws are removed, the disposal should be free to move. Gently twist or turn the disposal to release it from the bracket. This may take a little effort, as it can sometimes be stuck in place.
Step 3: Disconnect the Power Cord
Now that the disposal is loose, it’s time to disconnect the power. If your disposal is plugged into an electrical socket, simply unplug it. If it’s hardwired, you’ll need to remove the electrical cover plate on the side of the unit. Inside, you’ll see the wires. Use a screwdriver to unscrew the wire nuts, disconnect the wires, and make sure they’re safely out of the way. Make sure no live wires are touching anything metal!
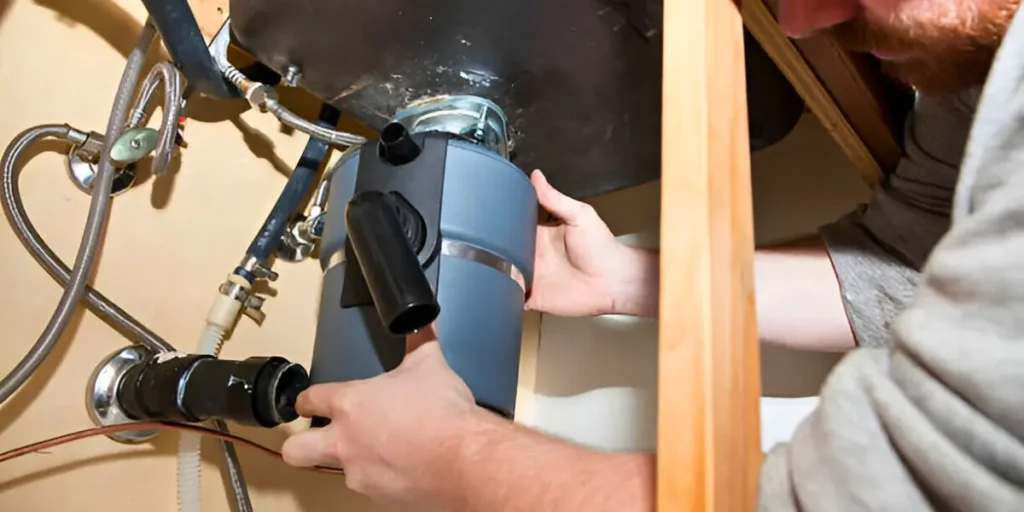
Step 4: Remove the Garbage Disposal Unit
At this point, the disposal should be completely detached from the sink. Carefully lift the unit out from under the sink. It may be a little heavy, so be sure to lift with your legs and not your back. If the disposal feels stuck, you can gently tap it with a rubber mallet to loosen it. Don’t force it, as you could damage your sink or pipes.
Troubleshooting Common Issues
Sometimes, things don’t go as smoothly as planned. You might run into a few problems while removing your garbage disposal. Don’t worry! Here’s how to handle some common issues that could come up.
Issue 1: Stuck Garbage Disposal
If your disposal is stuck in place, it might be due to rust or buildup in the mounting bracket. Don’t try to force it out, as this could damage the unit or your sink. Instead, gently tap the unit with a rubber mallet. This will help loosen any rust or debris that might be holding it in place. If it’s still stuck, try twisting or wiggling the disposal while applying gentle pressure.
Issue 2: Electrical Problems
If you’ve unplugged the disposal or turned off the circuit breaker, but it’s still not coming out, there might be a deeper electrical issue. Check to make sure the power is completely off. If the disposal is hardwired, double-check the wire connections. Sometimes, a problem with the wiring can prevent the disposal from disconnecting. If you’re not sure, it’s always best to call a professional electrician to avoid any safety risks.
Issue 3: Difficulty Disconnecting Pipes
Pipes can sometimes be hard to disconnect, especially if they’re old or have been corroded. Use pliers or an adjustable wrench to carefully loosen any tight connections. If the pipes won’t budge, try spraying them with a lubricant like WD-40. Let it sit for a few minutes, then try again.
What to Do After Removal
Once you’ve successfully removed your garbage disposal, there are a few important steps to take before moving on to anything else. These steps ensure that your sink area is clean, safe, and ready for a new disposal or any necessary plumbing work.
Clean the Area
The first thing you should do is clean the area under the sink. You might find old plumber’s putty, food particles, or water residue. Wipe everything down with a cloth to ensure the surface is smooth and dry. If there’s any leftover putty around the sink flange, carefully scrape it off with a putty knife. This will help create a better seal if you’re installing a new disposal.
Inspect the Plumbing
Now is a great time to check your plumbing. Look closely at the pipes and connections for any leaks or damage. Check if the drain lines are still secure and ensure there’s no corrosion on the pipes. If anything looks off, it’s a good idea to repair it before reinstalling a new disposal. This will save you from future plumbing problems.
Remove Any Debris
Check for any debris or small particles that may have fallen into the pipes during removal. These can cause blockages or clogs if left unchecked. It’s a good idea to clean out the pipes with a small brush or a quick flush of water to make sure they’re clear.
When to Call a Professional
Sometimes, things might not go as planned during the garbage disposal removal. If you run into any major issues or feel unsure about handling the job, it’s a good idea to call a professional. Here are a few situations where it’s best to get expert help.
Electrical Problems
If your garbage disposal is hardwired and you’re having trouble disconnecting the wires, it’s best to call an electrician. Working with electrical components can be tricky and dangerous if you’re not experienced. An electrician can safely disconnect the power and ensure everything is done right.
Plumbing Issues
If you notice any issues with your plumbing, like leaks or rusted pipes, it’s time to call a plumber. Trying to fix it yourself might cause more damage. A plumber can repair or replace the damaged pipes and make sure everything is connected securely.
Stubborn Disposal
If your disposal is stuck and you’ve tried everything to remove it, a professional can help. They have the right tools and knowledge to safely get the unit out without causing damage to your sink or pipes.
Lack of Experience
If you don’t feel comfortable doing the removal yourself, there’s no harm in calling a pro. They can quickly and efficiently handle the job, saving you time and stress.
Conclusion
Removing a garbage disposal may seem like a tricky task, but with the right tools and steps, it’s something you can handle. Always prioritize safety—turn off the power and water before starting. Make sure you have all the tools ready, like an adjustable wrench, screwdrivers, and gloves. If you run into any issues, such as a stuck unit or plumbing problems, don’t hesitate to troubleshoot or call a professional if needed.
Once you’ve removed the old disposal, take the time to clean the area and inspect the plumbing. This ensures everything is ready for a new unit or any repairs. If you ever feel unsure during the process, remember that calling an expert is always an option. It’s better to have things done right than risk causing damage.
With these tips, you can successfully remove your garbage disposal and keep your kitchen in top shape.
FAQs
To remove a garbage disposal, you’ll need an adjustable wrench, screwdrivers, pliers, plumber’s putty, a bucket or towels for spills, and a flashlight for visibility.
To disconnect the power, either unplug the unit from the wall socket or switch off the circuit breaker controlling the disposal. Ensure the power is completely off.
Use a wrench to loosen the drain pipe. Then, remove the drain hose and sink flange, ensuring you carefully disconnect clamps to avoid damage.
If the disposal is stuck, use a rubber mallet to gently tap the unit or try twisting it off. Avoid using excessive force to prevent damage.
Inspect the plumbing carefully for leaks before installing a new unit. Check the sink flange and pipe connections, tightening any loose parts or replacing worn-out seals.
If you're unsure about handling electrical or plumbing components, or if the disposal is hardwired, it’s safer to call a professional to avoid damage or injury.
After removal, clean the sink area by wiping away debris and removing any old plumber’s putty. This will ensure a proper seal if installing a new disposal.
Related Posts
-
03 Jan 2025 SinkLearn How to Remove Garbage Disposal From Sink 2025
-
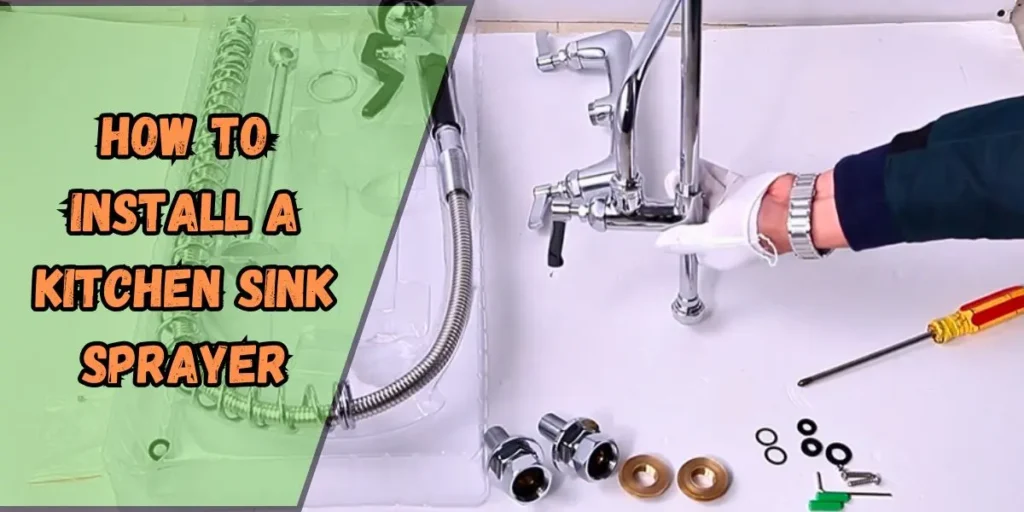 03 Jan 2025 SinkHow to Install a Kitchen Sink Sprayer in Simple Steps 2025
 -
 30 Dec 2024 RemodelSimple & Effective: Basement Bathroom Plumbing Diagram
 -
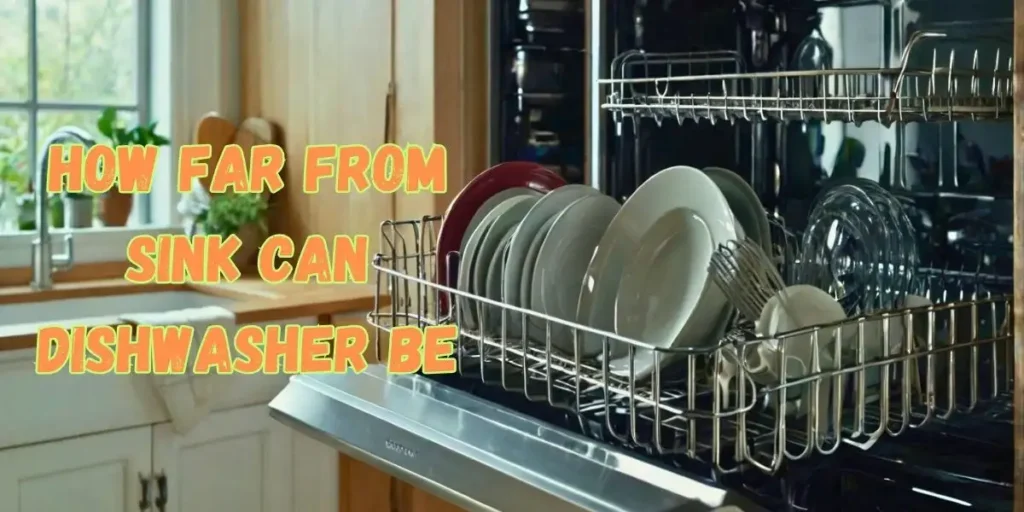 30 Dec 2024 SinkHow Far from Sink Can Dishwasher Be? Key Facts Explained
 -
 29 Dec 2024 SinkHow to Get Instant Hot Water at Kitchen Sink
 -
 28 Dec 2024 SinkHow to Fix an Airlock in a Kitchen Sink Drain: A Step-by-Step Guide
 -
 27 Dec 2024 SinkKitchen Sink Soap Dispenser Not Working? Here’s How to Fix It
 -
 26 Dec 2024 SinkKitchen Sink Drains into Yard: Causes, Solutions
 -
 26 Dec 2024 SinkNo Water in Bathroom but Everywhere Else: Expert's Solutions
 -
 26 Dec 2024 SinkDouble Kitchen Sink Plumbing Diagram: A Visual Guide