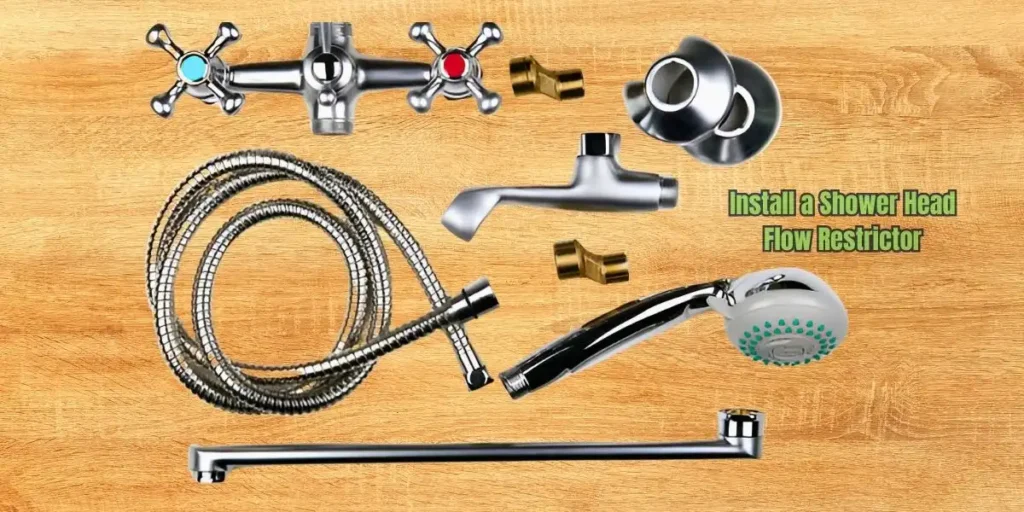
How to Install Water Flow Restrictor in Shower Head

Shower Head Flow Restrictors are small devices installed in shower heads. They limit the amount of water flowing through the head, helping to conserve water. This simple addition can make a big difference in your home.
Installing a flow restrictor has many benefits. First, it helps with water conservation. By reducing water usage, you contribute to saving this precious resource. Second, using less water can lead to cost savings on your water bill. A lower bill can add up to significant savings over time.
Flow restrictors play a key role in protecting the environment. Less is crucial for less strain on local water supplies, which is especially important in areas with water shortages.
In summary, installing a water flow restrictor is a wise choice. It benefits you financially while also helping the planet. This small change can lead to a more sustainable lifestyle.
What Is a Water Flow Restrictor?
A water flow restrictor is a simple device that limits water flowing through your showerhead. Its primary purpose is to conserve water while providing a good shower experience. These devices help save your water bill and support environmental efforts by reducing water flow.
There are several types of flow restrictors. Aerators mix air with water to maintain pressure while using less water. Disks are flat pieces that fit inside the showerhead and control flow. Adjustable restrictors allow you to change the flow rate based on your needs. Each type serves the same goal but offers different benefits.
Flow restrictors are made from various materials, including plastic and metal. Plastic restrictors are lightweight and corrosion-resistant, while metal restrictors are durable and long-lasting.
When installing a flow restrictor, you may also need to check your shower hose and rubber washers. These components ensure everything fits well and works properly. Overall, using a flow restrictor device is a smart choice for saving water and enjoying a comfortable shower. It’s an easy way to impact your wallet and the planet positively!
Why Should You Install a Shower Head Flow Restrictor?
Installing a showerhead flow restrictor is a simple but powerful choice. It saves water, money, and energy and is also environmentally friendly.
Water Conservation and Environmental Impact
One of the biggest reasons to use a flow restrictor is water conservation. This small device limits the amount of water your showerhead uses. By using less water, you help protect our planet’s water supply. Every drop counts and small changes in our daily routines can have significant impacts.
Lower Utility Bills (Water and Energy)
Another great benefit is lower utility bills. With a flow restrictor, you will use less water, decreasing your water bill. You will also save on energy costs. Less hot water is needed, so less energy is used to heat it. This can lead to significant savings over time.
Compliance with Local Regulations
In many areas, some laws encourage or require water-saving devices. Installing a flow restrictor can help you align with these local regulations. It’s a simple way to do your part in helping the environment while also avoiding any fines.
Enhancing Shower Efficiency Without Compromising Experience
Many people worry that using a flow restrictor will reduce their shower experience. However, this is not true! A good flow restrictor can maintain pressure while reducing water use. You can still enjoy a refreshing shower without wasting water. This means you can have the best of both worlds: comfort and conservation.
Prolonging the Lifespan of Plumbing Systems
Using a flow restrictor can also prolong the lifespan of your plumbing systems. Lower water flow puts less pressure on your pipes and fixtures, reducing the chance of leaks and damage over time. It’s a smart move to keep your plumbing system in great shape.
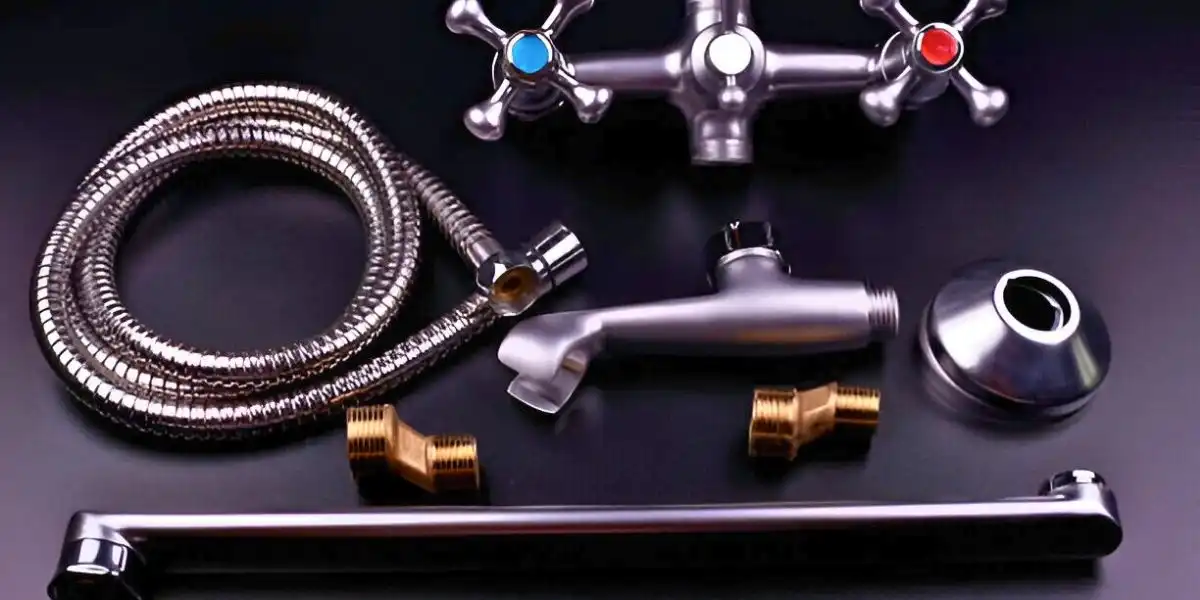
Installing a flow restrictor is easy. First, perform a water supply shutdown to avoid any mess. Next, you will need to remove the shower head. Use essential tools to take off the showerhead. Once removed, you can proceed with flow restrictor insertion. You can use basic screw-on aerator inserts or other types. After that, carefully reattach the shower head. Ensure everything is tight, and check the shower hose and rubber washers for any issues.
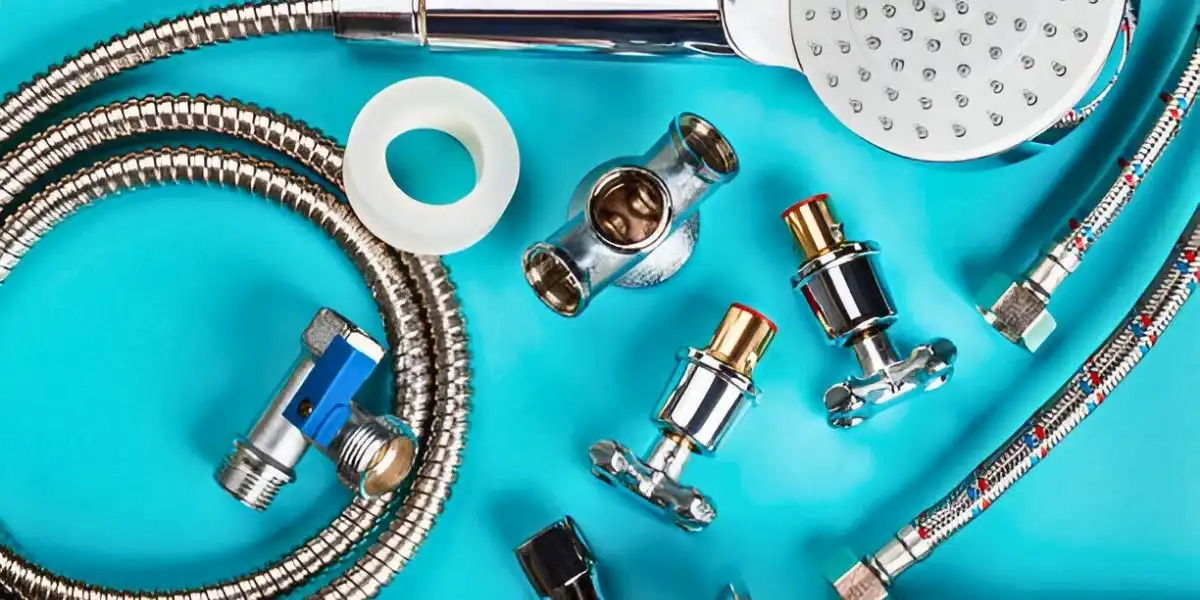
Tools and Materials Needed
Having the right tools and materials is key when installing a flow restrictor. Let’s examine what you will need for the job.
Adjustable Wrench or Pliers
First, you will need an adjustable wrench or pliers. These tools help you unscrew the showerhead easily and provide the necessary grip to remove it without damaging it.
Teflon Tape
Next, grab some Teflon tape. This tape is essential for sealing connections and prevents leaks when reattaching the showerhead. Wrap it around the threads before putting everything back together.
Cleaning Supplies
You might also want some cleaning supplies. Vinegar is a great way to remove mineral buildup, which helps your showerhead work better. A clean showerhead means a better shower experience!
Replacement Washers or O-rings
Check if you need any replacement washers or O-rings. These small parts can wear out over time, and your shower could leak if damaged. Having replacements on hand can save you trouble later.
Screwdriver or Pick Tool
Lastly, a screwdriver or pick tool helps remove old components, enabling you to reach the parts that need cleaning or replacement.
Step-by-Step Guide to Installing a Water Flow Restrictor
Installing a water flow restrictor is a great way to save water and money. By following these simple steps, you can easily do it yourself. Let’s dive into the process.
1) Preparation
Before you begin, it’s essential to prepare well. First, perform a water supply shutdown. This means turning off the water to your shower. Look for the valve that controls the water flow. It’s usually located near the shower or in the basement. Turning this off will prevent any mess during the installation.
Next, gather all the necessary tools and materials. You will need an adjustable wrench or pliers, Teflon tape, cleaning supplies (like vinegar), and a screwdriver or pick tool. Also, make sure to have replacement washers or O-rings if needed. Lastly, check your shower head model for compatibility with the flow restrictor you plan to use. This ensures that everything will fit properly.
2) Removing the Shower Head
Now that you are prepared, it’s time to remove the shower head. Using your adjustable wrench or pliers, grip the shower head carefully. Turn it counterclockwise to unscrew it from the shower arm. Be gentle to avoid damaging the threads or the arm.
If the shower head is stuck, wrap a cloth around it to provide extra grip. This will help prevent scratches. Once you have removed the shower head, check the threads on the shower arm. Ensure they are clean and free from debris.
3) Cleaning the Shower Head
Before installing the flow restrictor, it’s a good idea to clean the shower head. Over time, mineral deposits can build up and block water flow. Soak the shower head in vinegar for about 30 minutes. This will help dissolve any hard water deposits.
After soaking, use an old toothbrush or a cloth to remove any remaining debris. Inspect for large chunks that could block water flow. A clean shower head will improve your shower experience and efficiency.
4) Installing the Flow Restrictor
Now, it’s time to insert the flow restrictor. Identify the correct location for the restrictor. Most restrictors fit inside the shower head where the water exits. If your shower head uses flow restrictor disks, you’ll place them here.
You can also use basic screw-on aerator inserts. Follow the manufacturer’s instructions for proper placement. Adjustable or self-cleaning aerators should be set to the desired flow rate. Standard options are usually 1.5 GPM, 1.75 GPM, or 2.0 GPM. These rates help reduce water flow to approximately 6 liters per minute while maintaining a pleasant shower experience.
5) Reassembling the Shower Head
Once the flow restrictor is in place, it’s time to reassemble your shower head. Before attaching it back, apply Teflon tape to the threads of the shower arm. This will help prevent leaks and ensure a tight seal.
Carefully screw the shower head back onto the shower arm. Turn it clockwise to secure it. Ensure it’s snug, but avoid over-tightening, as this can damage the threads. Check that everything is aligned correctly and that the restrictor is in position.
6) Testing the Installation
Finally, it’s time to test your installation. First, turn the water supply back on. Let the water run momentarily to flush out any debris that may have gotten in during the installation.
Once the water is flowing, check for any leaks around the connections. If you notice any, turn off the water and tighten the connections. Ensure that the flow from the shower head is smooth and consistent. You should feel a steady stream of water, which indicates that the flow restrictor is working correctly.
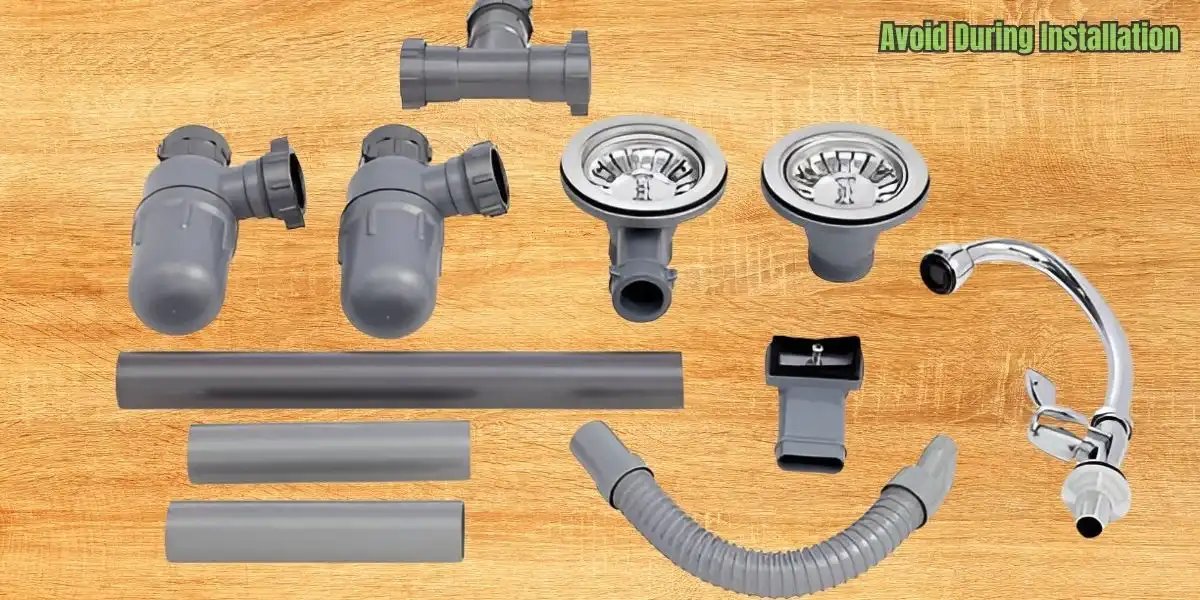
Common Mistakes to Avoid During Installation
Installing a flow restrictor can save water and improve your shower experience. However, there are some common mistakes to avoid during the process. Let’s explore these pitfalls to ensure your installation goes smoothly.
Over-tightening Connections
One of the most frequent mistakes is over-tightening connections. When reattaching your shower head, tightening it as much as possible can be tempting. However, this can lead to damage. Instead, make sure the shower head is snug but not excessively tight. This will ensure a good seal without harming the threads.
Using Incompatible Tools or Materials
Another mistake is using incompatible tools or materials. Always use the right tools for the job. For example, an adjustable wrench or pliers are ideal for loosening and tightening your shower head. Avoid using tools that can scratch or damage your fixtures. Additionally, ensure that replacement parts, like washers or O-rings, match your shower head model.
Forgetting to Clean Mineral Buildup Before Installation
Many people overlook the crucial step of cleaning. Forgetting to clean mineral buildup before installation can lead to poor water flow. Before you insert your flow restrictor, soak your shower head in vinegar to dissolve any mineral deposits. Then, use a toothbrush to scrub it clean. A clean shower head means better performance and a more enjoyable shower experience.
Not Testing Water Pressure After Installation
Finally, many people forget to test the water pressure after installation. Once you have reattached the shower head, turn the water supply back on and check the flow. A steady stream indicates that the flow restrictor is functioning correctly. Standard options for flow restrictors include 1.5 GPM, 1.75 GPM, or 2.0 GPM. These rates help reduce water flow to approximately 6 liters per minute, providing good pressure.
Advanced Tips for Optimizing Water Usage in Showers
Optimizing water usage in your showers is a smart way to save money and help the environment. Here are some advanced tips to make the most of your showering experience.
Choosing the Right Flow Rate for Your Needs
The first step is to choose the correct flow rate for your needs. Flow rate is measured in gallons per minute (GPM). You have several options: 1.5 GPM, 1.75 GPM, and 2.0 GPM. A 1.5 GPM shower head provides a gentle flow, while a 2.0 GPM option offers a more potent spray.
When selecting a flow rate, consider your household size and water pressure. You might prefer a higher flow rate, like 2.0 GPM, if you have a more prominent family. This can help ensure everyone gets a satisfying shower. However, a lower flow rate may be more suitable if your water pressure is low. This balance will help you maintain comfort while also being water-efficient.
Combining Flow Restrictors with Low-flow Shower Heads
Another great tip is to combine flow restrictors with low-flow shower heads. Low-flow shower heads often have features like non-aerating spray nozzles, adjustable aerators, or self-cleaning aerators. These features help enhance your shower experience while reducing water use.
Using a flow restrictor in addition to a low-flow shower head can maximize water savings. This dual approach can significantly lower water flow while maintaining a pleasant shower experience. Thus, you can enjoy your showers without feeling skimping on water.
Using Smart Devices for Monitoring Water Usage
Finally, consider using smart devices to monitor your water usage. Smart shower meters or timers can track how much water you use during each shower, helping you become more aware of your consumption.
Knowing how much water you use can help you make better decisions about your shower habits. For example, if you notice you take longer showers, you might set a timer to encourage shorter ones. This simple step can lead to significant savings over time.
Troubleshooting Common Issues After Installation
You may encounter some common issues after installing a flow restrictor in your shower. Don’t worry! Here are some troubleshooting tips to help you fix these problems.
Low Water Pressure After Installing a Restrictor
One common issue after installing a restrictor is low water pressure. This can happen for several reasons. First, the restrictor may be clogged with mineral deposits, a common problem if you have hard water. Second, your home’s water pressure might be low to begin with.
To solve this issue, start by checking the restrictor. Remove the shower head and clean the restrictor using vinegar. Soaking it can help dissolve any buildup. If cleaning doesn’t help, you might need to replace the restrictor with a new one. Additionally, check your home’s water pressure. You may need to consult a plumber to fix this issue if it’s consistently low.
Leaks Around the Shower Head
Another problem you might face is leaks around the shower head. This usually happens due to improper installation or worn-out washers. If the shower head is not attached tightly, water can seep out.
To diagnose this, first check that the shower head is securely attached. If it is loose, tighten it. If the leak continues, look at the washers or O-rings. They will need to be replaced if they are damaged or worn out. Use the right size to ensure a proper seal and prevent leaks.
Uneven Spray Patterns
You may also notice uneven spray patterns from your shower head. While this can be frustrating, it’s often an easy fix. Uneven spraying can occur if the flow restrictor is improperly positioned or adjusted.
To fix this, try adjusting or repositioning the restrictor. Ensure it is seated correctly in the shower head. If using an adjustable aerator, tweak the settings to find the best spray pattern.
Maintenance Tips for Longevity
Keeping your flow restrictor and shower head in good shape is essential. Regular maintenance can ensure they last and work well. Here are some tips to help you maintain your shower components for longevity.
Regular Cleaning of the Restrictor
First, make sure to clean the restrictor regularly. Over time, sediment can build up, causing clogs. Remove the shower head and soak the restrictor in vinegar for 30 minutes to clean it. This helps break down any mineral deposits. After washing, gently scrub it with a soft brush. Rinse it well before reattaching it to the shower head.
Inspecting Washers and O-rings
Next, inspect washers and O-rings periodically. These small parts can wear out over time. If you notice leaks or water dripping, replace them. Check for cracks or signs of wear. Replacing these parts is simple and can prevent more significant issues.
Seasonal Maintenance Checklist
Lastly, create a seasonal maintenance checklist for optimal performance. Each season, take a moment to check your shower system. Clean the restrictor, inspect the washers, and ensure everything is securely attached. This small effort can help you avoid problems and keep your shower running smoothly.
Conclusion
Installing a water flow restrictor in your shower has many benefits. First, it helps save water, which is good for the environment. Reducing water flow can also reduce your water bill. This small change can lead to significant savings over time.
Additionally, using a flow restrictor can improve your shower experience. You still get a satisfying spray while using less water. This is a win-win for both you and the planet.
I encourage you to adopt more water-saving practices in your daily life. Simple actions, like shorter showers or fixing leaks, can make a big difference.
Many resources are available for those interested in DIY plumbing projects. Websites and videos can guide you through various tasks. Embrace these tools to improve your home while being kind to the environment. Every small effort counts!
Frequently Asked Questions (FAQs)
It is a device installed in shower heads to limit water flow. This helps conserve water and reduce utility bills while maintaining a satisfying shower experience.
Installing a flow restrictor conserves water, lowers water bills, and contributes to environmental sustainability. It allows for an enjoyable shower while using less water overall.
You can check for a flow restrictor by removing the shower head. Look for a small disc or screen inside the connection. If present, it is likely a flow restrictor.
You typically need a wrench or pliers, a towel, and a screwdriver to install a flow restrictor. These tools will also help you remove and reattach the shower head.
Installing a flow restrictor is generally easy and can be done by most homeowners. Clear instructions and a few simple tools are all that are needed for successful installation.
Some flow restrictors are adjustable. Check the manufacturer’s instructions to see if you can change the flow rate. Otherwise, you may need to replace it with different settings.
Check for clogs in the restrictor or shower head if you notice low water pressure. Cleaning or replacing these parts often resolves the issue and restores proper flow.
You should clean your flow restrictor every few months, especially in areas with hard water. Regular cleaning prevents sediment buildup and ensures optimal power performance.
Related Posts
-
 03 Jan 2025 SinkLearn How to Remove Garbage Disposal From Sink 2025
 -
 03 Jan 2025 SinkHow to Install a Kitchen Sink Sprayer in Simple Steps 2025
 -
 30 Dec 2024 RemodelSimple & Effective: Basement Bathroom Plumbing Diagram
 -
 30 Dec 2024 SinkHow Far from Sink Can Dishwasher Be? Key Facts Explained
 -
 29 Dec 2024 SinkHow to Get Instant Hot Water at Kitchen Sink
 -
 28 Dec 2024 SinkHow to Fix an Airlock in a Kitchen Sink Drain: A Step-by-Step Guide
 -
 27 Dec 2024 SinkKitchen Sink Soap Dispenser Not Working? Here’s How to Fix It
 -
 26 Dec 2024 SinkKitchen Sink Drains into Yard: Causes, Solutions
 -
 26 Dec 2024 SinkNo Water in Bathroom but Everywhere Else: Expert's Solutions
 -
 26 Dec 2024 SinkDouble Kitchen Sink Plumbing Diagram: A Visual Guide