How to Install a Kitchen Sink Sprayer in Simple Steps 2025
Installing a kitchen sink sprayer on your faucet is not just an upgrade; it’s a game-changer. This simple addition brings a world of convenience, making everyday tasks like washing dishes, rinsing vegetables or cleaning your sink quicker and easier.
A sprayer boosts your kitchen’s efficiency and enhances its style, giving it a modern, polished look. Whether you’re a seasoned DIY enthusiast or new to home improvement, this guide will help you easily install your sprayer.
Forget the need for professional help; you’ll have everything you need to take on this project confidently. Ready to transform your kitchen sink into a tool of ultimate convenience? Let’s get started!

Tools and Materials You’ll Need
Installing a kitchen sink sprayer is easier with the right tools and materials. Before you start, gather everything you need. This will save you time and make the process smooth.
Tools Checklist
- Adjustable Wrench: For tightening or loosening nuts and bolts.
- Basin Wrench: Perfect for those hard-to-reach places under the sink.
- Screwdrivers: A flathead or Phillips, depending on your setup.
- Plumber’s Tape: Helps seal connections to prevent leaks.
- Bucket or Towel: Keeps the area dry by catching any water.
Materials Checklist
- Kitchen Sink Sprayer Kit: Ensure it’s compatible with your faucet.
- Replacement Parts: Sometimes, older components need swapping out.
Pro Tip: Double-Check Compatibility
Before buying a sprayer kit, check your faucet and sink setup. Some sprayers work with specific types of faucets. Confirm the instructions on the packaging to avoid frustration later.
Why Preparation Matters
Having the right tools and materials ensures the installation goes smoothly. You’ll avoid unnecessary trips to the hardware store and complete the job in less time. Proper tools also make the task safer and less stressful.
Related to: How to Clean a Kitchen Sink
Preparation Steps
Preparation is the key to a successful installation of your kitchen sink sprayer. These steps will make the process smooth and hassle-free, ensuring you’re fully equipped and ready to tackle the project.
Step 1: Turn Off the Water Supply
Locate the valves under your sink. These are usually easy to spot. Turn them clockwise to shut off the water. This step prevents leaks or spills while you work.
Step 2: Clear Your Workspace
Remove everything stored under the sink. Cleaning out this space gives you more room to work and keeps your tools organized. A clutter-free area makes the job easier and faster.
Related: How to Clean Granite Composite Kitchen Sink
Step 3: Release Water Pressure
Some water might remain in the pipes even after turning off the valves. To prevent surprises while working, turn on the faucet for a few seconds to let it drain completely.
Step 4: Get Ready for Spills
Keep a bucket or towel handy. Small amounts of water might escape when you disconnect parts of the faucet. The bucket will catch the water, and the towel will help with cleanup.
Removing the Old Sink Components (If Applicable)
You may need to remove old parts before installing your new kitchen sink sprayer. This process is straightforward, but a little patience goes a long way.
Detach the Old Faucet or Sprayer
If your sink already has a sprayer or outdated faucet, it’s time to remove them. Use an adjustable wrench to loosen the connections. Be gentle to avoid damaging the sink or other components. If screws are involved, grab your screwdriver and carefully unscrew them.
Handle Stubborn Fittings
Sometimes, old parts get stuck due to rust or buildup. Don’t worry! Apply a bit of penetrating oil and let it sit for a few minutes. This helps loosen stubborn fittings. A basin wrench can provide a better grip in tight spaces if the part is still difficult to remove.
Dispose of Old Parts Responsibly
Once removed, set aside the old faucet or sprayer. Check your local guidelines for proper disposal. Recycling old metal parts is an eco-friendly option that benefits the environment.
Related to: Apartment Kitchen Sink Backup
Why Removal Matters
Taking out the old components clears the way for your new sprayer. This step ensures everything fits properly and works efficiently, and skipping it can cause problems later.
Installing the Kitchen Sink Sprayer
After you’ve prepared your sink and removed the old parts, you must install your new kitchen sink sprayer. Follow these steps to get the job done quickly.
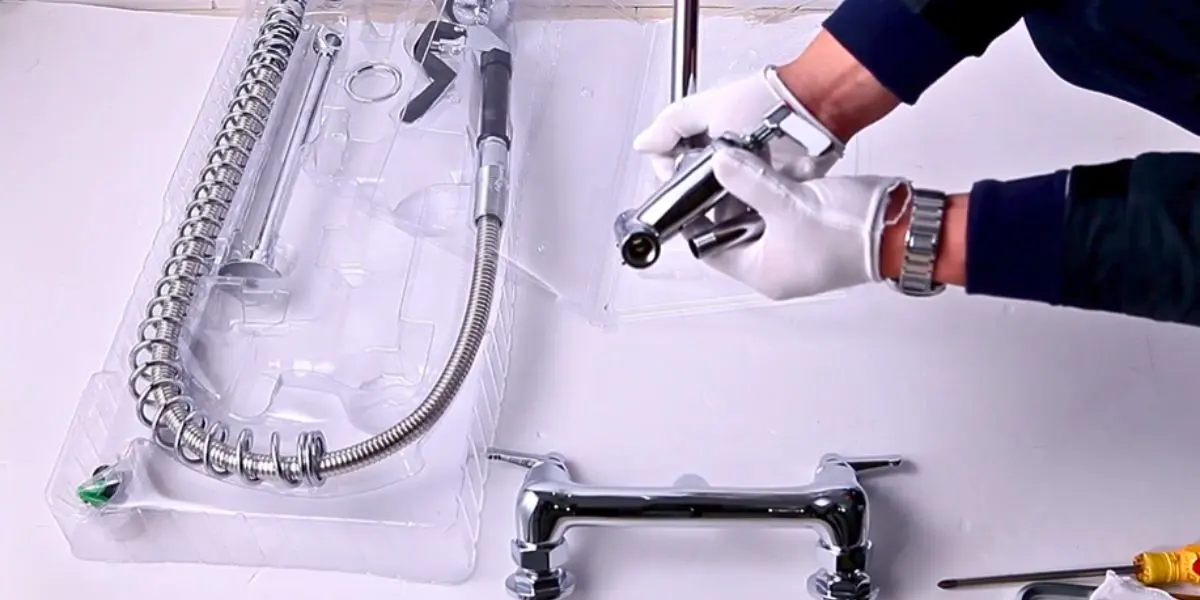
Attach the Sprayer Hose
Start by connecting the sprayer hose to the faucet diverter or sprayer adapter. If your faucet doesn’t already have a diverter, most sprayer kits include one. Screw the hose onto the adapter firmly, but don’t overtighten. A loose connection can cause leaks, and overtightening might damage the threads. Wrap the plumber’s tape around the threads to create a secure, watertight seal. This step ensures the hose stays firmly attached during use.
Connect the Diverter
If installing a diverter valve, connect it to the faucet’s main water supply. The diverter sends water to either the faucet or the sprayer. To avoid leaks, make sure the diverter is tightly secured. Use your adjustable wrench to tighten it, but be careful not to apply too much force. Check that the valve moves smoothly between settings.
Secure the Sprayer Head
Once the hose is connected, attach the sprayer head to the other end. Most sprayer heads screw onto the hose easily. Tighten it by hand, and use a wrench for a snug fit if needed. Test the connection by gently pulling on the hose. It should feel secure without any wobbling.
Check for Leaks
Before turning the water supply back on, double-check all connections. Slowly turn the water on and watch for leaks. If you notice any, turn off the water and tighten the connections. If needed, you can add more plumber’s tape.
Why It Matters
Installing the sprayer correctly ensures it works efficiently and lasts longer. A careful installation prevents leaks and avoids the need for future repairs.
Testing the Installation
Now that your kitchen sink sprayer is installed, it’s time to test it. This step is crucial as it ensures everything works as it should and helps you catch any issues early, giving you peace of mind and confidence in your work.
Slowly Turn On the Water Supply
Start by turning the water valves under your sink back on. Open them slowly to avoid sudden pressure surges. Listen for any unusual sounds, as these might indicate a problem.
Check for Leaks
Carefully inspect all connections, including the sprayer hose, diverter valve, and head. Look for any drips or pooling water. If you spot a leak, don’t panic. Turn off the water, tighten the connection, and add the plumber’s tape if needed. This simple fix often resolves minor leaks.
Test the Sprayer Head
Once you’re confident there are no leaks, test the sprayer. Turn on the faucet and press the sprayer handle. Check that the water flows smoothly through the sprayer without interruptions or weak pressure. Try different spray settings if your sprayer has multiple options.
Adjust Water Pressure
If the water pressure feels too high or low, adjust the faucet controls or check for blockages in the sprayer head. A clean sprayer ensures consistent performance.
Why Testing Matters
Testing your installation helps ensure your sprayer is ready for daily use. Addressing any issues now will save time and effort later. Plus, you’ll have peace of mind knowing your new kitchen tool is working perfectly.
Related to: Can You Replace a Kitchen Sink Without Replacing the Countertop
Troubleshooting Common Issues
Even with a proper installation, your kitchen sink sprayer might have a few issues. Don’t worry—most problems are easy to fix with simple solutions.
Issue 1: Leaks
Leaks are the most common issue. Check all connections, including where the sprayer hose attaches to the faucet and head. If there’s a leak, gently tighten the connection. If the leak persists, turn off the water and apply the plumber’s tape to the threads. This tape creates a watertight seal and is a quick fix.
Issue 2: Low Water Pressure
If your sprayer isn’t producing enough water pressure, the problem might be a blockage. Detach the sprayer head and inspect the nozzle. Using a toothpick or a small brush, remove any debris or buildup. Rinse the head thoroughly before reattaching it.
Issue 3: Hose Tangles or Stiffness
Sometimes, the hose can get tangled or feel stiff during use. Ensure the hose is aligned correctly and isn’t twisted. You can also apply a silicone lubricant to smooth the hose.
When to Call a Professional
If the sprayer still doesn’t work despite these fixes, there could be a deeper plumbing issue. To avoid causing further damage, it’s best to call a professional plumber.
Related to: How to Insulate Under Kitchen Sink
Maintenance Tips for Your Kitchen Sink Sprayer
Your kitchen sink sprayer is a helpful tool. With regular care, it can last for years. Maintenance doesn’t take much time, but it can make a big difference in keeping the sprayer working perfectly.
Clean the Sprayer Head Regularly
Mineral deposits or debris can clog the sprayer head over time. To dissolve buildup and keep the water flowing smoothly, remove the head every few weeks and soak it in a solution of equal parts water and vinegar. Rinse thoroughly before reattaching.
Related to: How To Snake A Kitchen Sink Drain Roots
Inspect the Hose for Damage
Check the hose occasionally for cracks or leaks. If you notice any wear and tear, replace it to prevent more significant problems later. Keeping the hose in good shape ensures a consistent water flow.
Lubricate the Hose
If the hose feels too stiff or rigid to move, apply a small amount of silicone lubricant. This keeps it flexible and prevents it from tangling while in use.
Avoid Excessive Force
Please don’t pull the hose too hard or twist it excessively using the sprayer. Gentle handling extends the life of the sprayer and its components.
Watch for Warning Signs
If you notice reduced water pressure, unusual noises, or leaks, address the issue immediately. Quick fixes can prevent more costly repairs.
Related to: How to Fix a Leaking Sink Drain
Conclusion
Installing a kitchen sink sprayer is a simple yet effective way to upgrade your kitchen. It makes everyday tasks like washing dishes, rinsing produce, and cleaning the sink much easier and faster. With the right tools, preparation, and careful installation, anyone can complete this project—even if they’re new to DIY.
We’ve walked through every step, from gathering tools and removing old components to troubleshooting and maintenance. Your sprayer should be installed, tested, and ready to use. Its convenience and efficiency will save you time and effort in the kitchen.
Regular maintenance ensures it will work perfectly for years. Remember to clean the sprayer head, check the hose, and fix minor issues before they become big problems.
FAQs for How to Install a Kitchen Sink Sprayer
You’ll need essential tools, such as an adjustable wrench, basin wrench, screwdriver, plumber’s tape, and a bucket or towel to catch water spills.
Not all faucets support sprayers. Review the product details or consult a hardware professional to check your faucet’s compatibility with the sprayer kit.
Installation typically takes 30-60 minutes for most DIYers, depending on your experience and whether you need to remove old sink components.
Turn off the water, tighten connections, and apply the plumber’s tape to threaded areas. If the leak persists, inspect parts for damage and replace them.
Yes, it’s a straightforward process. With the right tools, materials, and step-by-step instructions, most homeowners can complete the installation themselves.
Ensure the hose is aligned correctly and not twisted. For smoother movement and fewer tangles, you can also apply silicone lubricant.
The sprayer head should be cleaned every few weeks to ensure long-lasting performance. She also promptly checks the hose to address issues like leaks.
Related Posts
-
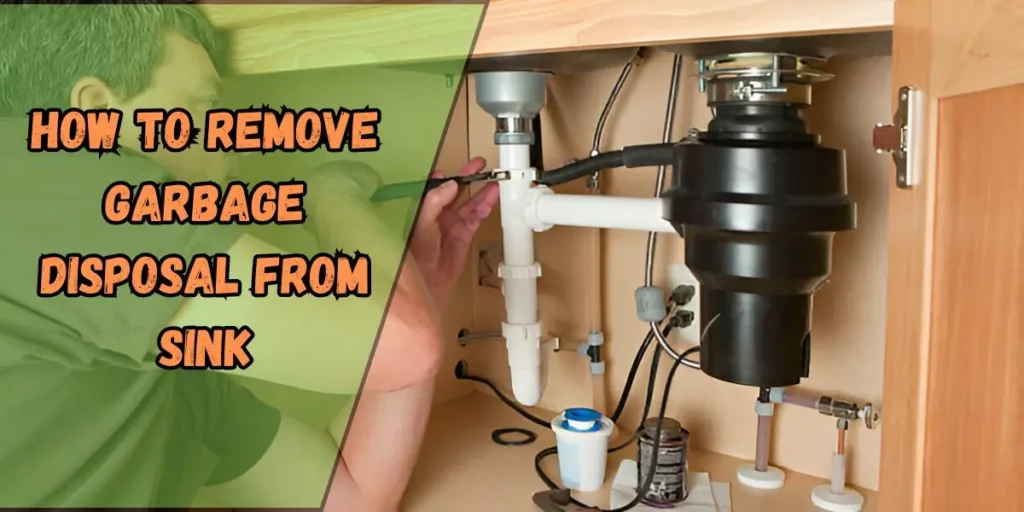 Learn How to Remove Garbage Disposal From Sink 2025
 -
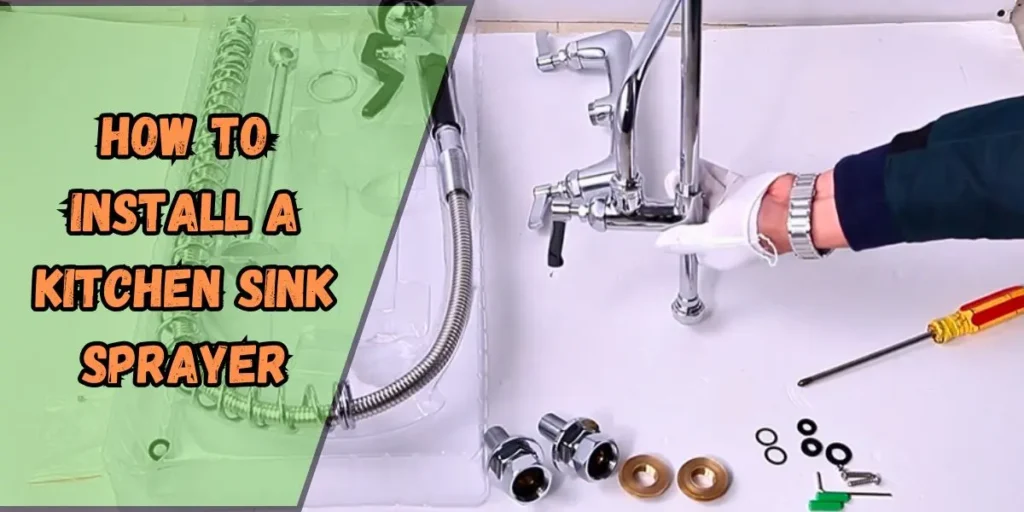 How to Install a Kitchen Sink Sprayer in Simple Steps 2025
 -
 Simple & Effective: Basement Bathroom Plumbing Diagram
 -
 How Far from Sink Can Dishwasher Be? Key Facts Explained
 -
 How to Get Instant Hot Water at Kitchen Sink
 -
 How to Fix an Airlock in a Kitchen Sink Drain: A Step-by-Step Guide
 -
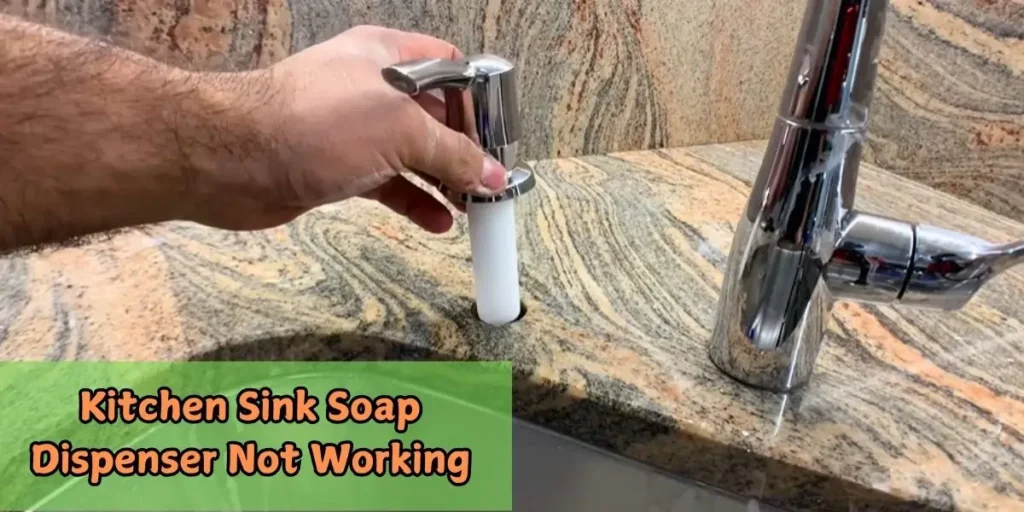 Kitchen Sink Soap Dispenser Not Working? Here’s How to Fix It
 -
 Kitchen Sink Drains into Yard: Causes, Solutions
 -
 No Water in Bathroom but Everywhere Else: Expert's Solutions
 -
 Double Kitchen Sink Plumbing Diagram: A Visual Guide